ActiveCampaign’s automation builder is the reason most people choose the platform: a visual canvas where triggers, emails, waits, and branching logic snap together into workflows that run while you sleep. This tutorial walks you through building your first automation — a welcome sequence — step by step, using the structure documented in ActiveCampaign’s official help center.
Everything below follows ActiveCampaign’s published documentation (help.activecampaign.com), not a hands-on trial. Menu names, trigger names, and action names are quoted from the official docs so you can follow along inside your own account. If the interface has changed since this was written, the help center’s automation articles are the source of truth.
New to the concepts? Read our email automation guide first for plain-language definitions of triggers, waits, and conditions. And if you’re still choosing a platform, our best marketing automation software roundup compares ActiveCampaign against seven alternatives.
Before You Start: Account Basics
ActiveCampaign has no permanent free plan — you get a 14-day trial to build and test. Pricing is contact-based: Starter, Plus, Professional, and Enterprise list at $15/$49/$79/$145 per 1,000 contacts on the official pricing page. (The page we reviewed noted “last updated August 2026”; billing cadence wasn’t confirmed, so verify current terms on the official page.) One structural limit to know: email sends are capped at a multiple of your contact count — 10x on Starter and Plus, 12x on Professional, 15x on Enterprise. A 1,000-contact Starter account can send roughly 10,000 emails per month, which is plenty for a welcome sequence but worth knowing before you scale.
Three things to have ready before building:
- A list. Automations enroll contacts from lists (or tags, or form submissions). Create your main list first if you haven’t.
- An opt-in form. Your welcome automation needs an entry point — a signup form on your site feeding the list. ActiveCampaign’s inline and floating forms work, or connect your existing form tool.
- Your sender identity. Set your “from” name, reply-to address, and authenticate your sending domain before you activate anything. This is deliverability 101 — see our email deliverability guide if you haven’t set up SPF/DKIM.
— Start your 14-day ActiveCampaign trial.
The Building Blocks: Triggers, Actions, Conditions
ActiveCampaign automations are built from three element types, per the official documentation:
Triggers — what starts the automation. Common triggers documented in the help center include “Subscribes to a list” (contact joins a list — the classic welcome-sequence trigger), “Submits a Form,” “Tag is Added,” “On a Schedule” (run once or on a recurring cadence against matching contacts), and “Date based” (fire relative to a contact’s date field, e.g., a trial expiry). You can combine multiple triggers — for example, several “Subscribes” triggers for different lists.
Actions — what happens inside the workflow. The help center documents actions grouped by tab: under “Sending” you’ll add emails and SMS; under “Contacts” you’ll find “Add a tag,” “Subscribe”/”Unsubscribe,” and contact updates; under “Workflow” live the logic elements — “Wait,” “If/Else,” “Jump To,” goals, and more. Clicking the node (+) between steps opens the “Add an action” modal.
Conditions — the branching logic. “If/Else” splits contacts down Yes/No paths based on whether they match conditions you define (e.g., “Has opened” a specific email, “Has clicked on a link”). “Wait” actions pause contacts for a set duration or “until specific conditions are met” — for example, waiting until a contact visits your pricing page before sending the next email. Goals let contacts skip ahead when they convert (e.g., a purchase pulls them out of the nurture path).
One important mechanic from the docs: to edit an automation that’s already Active, set it to Inactive first, make your changes, then set it back to Active so contacts continue flowing through.
Step-by-Step: Build a Welcome Sequence
We’ll build a 4-email welcome sequence triggered when someone subscribes to your main list. This is the highest-ROI automation for most businesses and the perfect first build.
Step 1 — Create the automation and set the trigger
- Go to Automations in the left menu and click Create an Automation.
- Choose Start from Scratch (templates exist, but building once teaches you the system).
- Name it clearly, e.g., “Welcome Sequence — Main List v1.” Future-you will thank present-you.
- Set the trigger: choose “Subscribes to a list” and select your main list. This means every new subscriber enters automatically.
Step 2 — Add a tag to mark entry
- Click the node (+) below the trigger to open the “Add an action” modal.
- Go to the Contacts tab and select “Add a tag.”
- Create a tag like
entered-welcome-2026. Tags are your audit trail — they let you segment later (“show me everyone who entered the welcome sequence but never bought”) and trigger other automations. The help center recommends a consistent naming convention; pick one and document it.
Step 3 — Send welcome email #1 (immediately)
- Click the node (+) again, go to the Sending tab, and add a Send an email action.
- Design the email: thank them, deliver whatever you promised at signup (the discount code, the download link), and set expectations — “Over the next week I’ll send you three short emails that will help you get the most out of [product].”
- Keep it short. Email 1’s job is the open and the first click, not the sale.
Step 4 — Wait 2 days
- Add a Wait action from the Workflow tab.
- Choose wait for a specific duration — 2 days. This spaces your sequence so you don’t bombard new subscribers. (You’ll use “wait until conditions are met” later for behavior-based pauses.)
Step 5 — Send email #2 and branch on engagement
- Add Send an email: your best educational content — the #1 tip, the quick-start guide, the most common mistake new customers make.
- Add another Wait (3 days) to give them time to engage.
- Add an If/Else condition from the Workflow tab. Set the condition to “Actions > Has opened” and select email #2 — mirroring the exact pattern in ActiveCampaign’s own help-center walkthrough.
- On the Yes path (they opened): add an “Add a tag” action —
engaged-welcome— then continue to email #3. - On the No path (they didn’t open): add a different follow-up — a plain-text style email with a curiosity-driven subject line (“Did you miss this?”). Re-engagement here rescues a meaningful share of subscribers.
This branching is what separates ActiveCampaign from basic autoresponders: two subscribers can walk genuinely different paths through the same automation. For strategy on what each path should say, see our lead nurturing guide.
Step 6 — Send email #3 (social proof) and email #4 (the offer)
- After the If/Else rejoins (or on each path — your choice), add a Wait of 3–4 days, then Send an email with a customer story: who they were, what changed, in concrete terms.
- Add a final Wait (4–5 days), then the last email: a clear, low-pressure call to action — start a trial, book a call, use the discount. One ask, one link.
Step 7 — Set the end-of-automation tag and goal (optional but smart)
- At the end, add “Add a tag”:
completed-welcome-2026. - Consider adding a Goal at the top of the automation (e.g., “makes a purchase”): per the docs, contacts who hit the goal skip straight to the end. That way a subscriber who buys after email #1 doesn’t keep receiving “have you tried us yet?” emails — the #1 beginner embarrassment.
Step 8 — Test, then activate
- Use the automation’s test/preview functions to send yourself through the flow. Check every email on mobile.
- Submit your own form with a test address and watch the contact travel through the automation in real time. Verify tags apply, waits trigger, and the If/Else branches correctly.
- When it’s clean, toggle the automation to Active. New subscribers now enter automatically. If you’re unsure about activation, ActiveCampaign’s own docs explain how to set automations to Active or Inactive and how contacts trigger automations.
— Build this workflow in your free trial.
Common Beginner Mistakes
- Editing while Active. The docs are explicit: set the automation to Inactive before editing, then reactivate. Editing live can strand contacts mid-flow.
- No exit for converters. Always add a goal or an “if purchases, exit” branch. Nothing screams amateur like a sales sequence continuing after the sale.
- Too many emails, too fast. Four emails in four days burns a new list. Space with waits; watch unsubscribes per step.
- Branching without a plan. If/Else paths multiply fast. Sketch the flow on paper first — every branch doubles your testing surface.
- Forgetting the Starter action limit. Lower tiers cap the number of actions per automation. If your workflow won’t save, check your plan’s limits before rebuilding.
- Ignoring the send multiple. Remember the 10x/12x/15x send caps relative to contacts. A big list with heavy automation can hit the ceiling — monitor usage in your account.
- No naming convention. Six months from now, “Automation 7” and tag
x1are mysteries. Name everything descriptively from day one.
What to Build Next
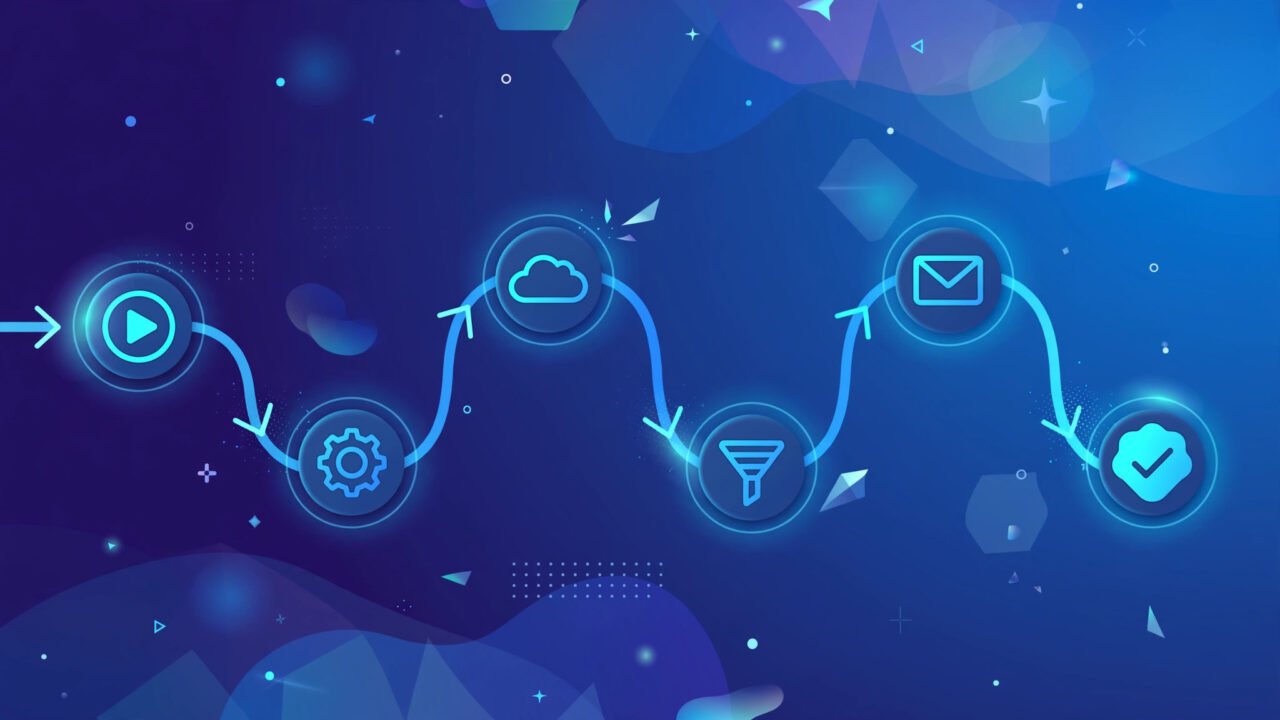
Once the welcome sequence is running and converting, the natural next automations are: an abandoned-cart sequence (for ecommerce), a post-purchase follow-up (review request → cross-sell), a re-engagement sequence for cold subscribers, and a lead-scoring handoff to sales. Each follows the same trigger → wait → branch → goal pattern you just learned. Compare notes with Brevo vs ActiveCampaign if you ever wonder whether a cheaper tool could run the same plays — the answer depends on how much branching you actually use.
Master one workflow completely before building five. The welcome sequence you just built will quietly outperform most of the campaigns you’ll ever send.
— Start automating with a 14-day trial.